With a hectic weekend with lots to do and much needed family time, I'm back with a cute, easy half apron tutorial.
We were having a night where a group of girls from our church were serving other members of the church dinner and dessert. We had the girls dress in their best dress in order to make it more like a fine dining restaurant instead of just a fast food drive through window. To make it even a little more special for the girls, we made them each an apron to wear so if accidents did occur while serving the food, they wouldn't get it all over their nice clothes.
This is what we came up with. Isn't it fun! (Mind you, it would look lots better if I knew how to use my camera and the editing program I have. But, I'm working on it! :) )The best part is that it is super easy and pretty cheap to make.
Materials Needed: I used duck cloth for this one because it is a little heavier but any cotton should work fine.
2/3 yard fabric (This will probably give you two as you only need one piece of 22x22 inch piece)
1/2 yard coordinating fabric (This will also be enough for two)
Thread
Pins
Scissors/Rotary Cutter and Mat
Ruler
Steps:
1. First cut a square for the apron part that is 22x22 inches long.
2. Cut a strip of coordinating fabric that measures 5 inches wide and 23 inches long for the band
3. Cut two strips of coordinating fabric that measures 4 inches wide 30 inches long for the ties
(This is what you should have after you have completed cutting out all the parts of the apron.)
4. Take the apron part and fold 3 of the sides over 1/4" and iron then fold 1/4" again and sew the folds down, near the edge of the fold. (I surged mine to finish the edge. If you have one do so, if not make sure you fold it over to make it look clean and finished.)
5. Take the band piece (5x22 inch piece) and fold down the short edges 1/2 " and iron down. Then fold down long edges 1/2" and iron down. After ironing the edges fold the band in half lengthwise and iron it again to create a crease in the middle. (Don't worry about folding this part over 1\4" and 1/4" again as it will be enclosed and looked finished when done.)
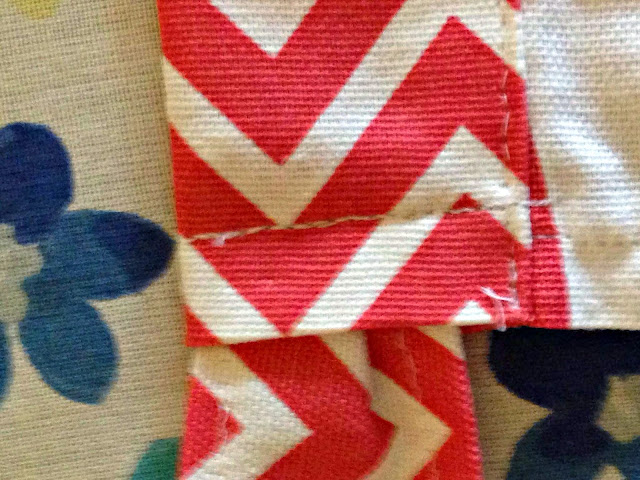
6. Take your apron piece and your band piece and pin the top part of the apron (the side that was not folded down 1/4' twice.) into the crease of the band. First pin the apron to the bottom of the band part like pictured below then bring down the top part of the band and using the same pins you used from the bottom pin, take the pins out one at a time pinning all three pieces together. This allows for the apron part to really stay up in the crease without having to re-adjust while sewing.
7. Sew band down close to the edge.
8. Take your two tie strips and fold down 1/4" and iron and then down 1/4" again and sew down. (You do not have to do this to one of the small sides as it will be going into the band of your apron)
10. Wear and enjoy! This would make such a great gift also!


Such a fun design of fabric! Makes me want a serger ;)
ReplyDeleteI love the fabric that you chose for this! I'm starting to get pretty handy on a sewing machine but have a serger on my wish list :)
ReplyDeleteI never thought I can make my own apron. Great tutorial
ReplyDelete